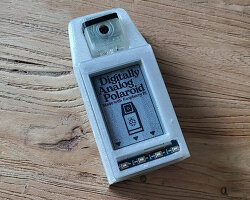
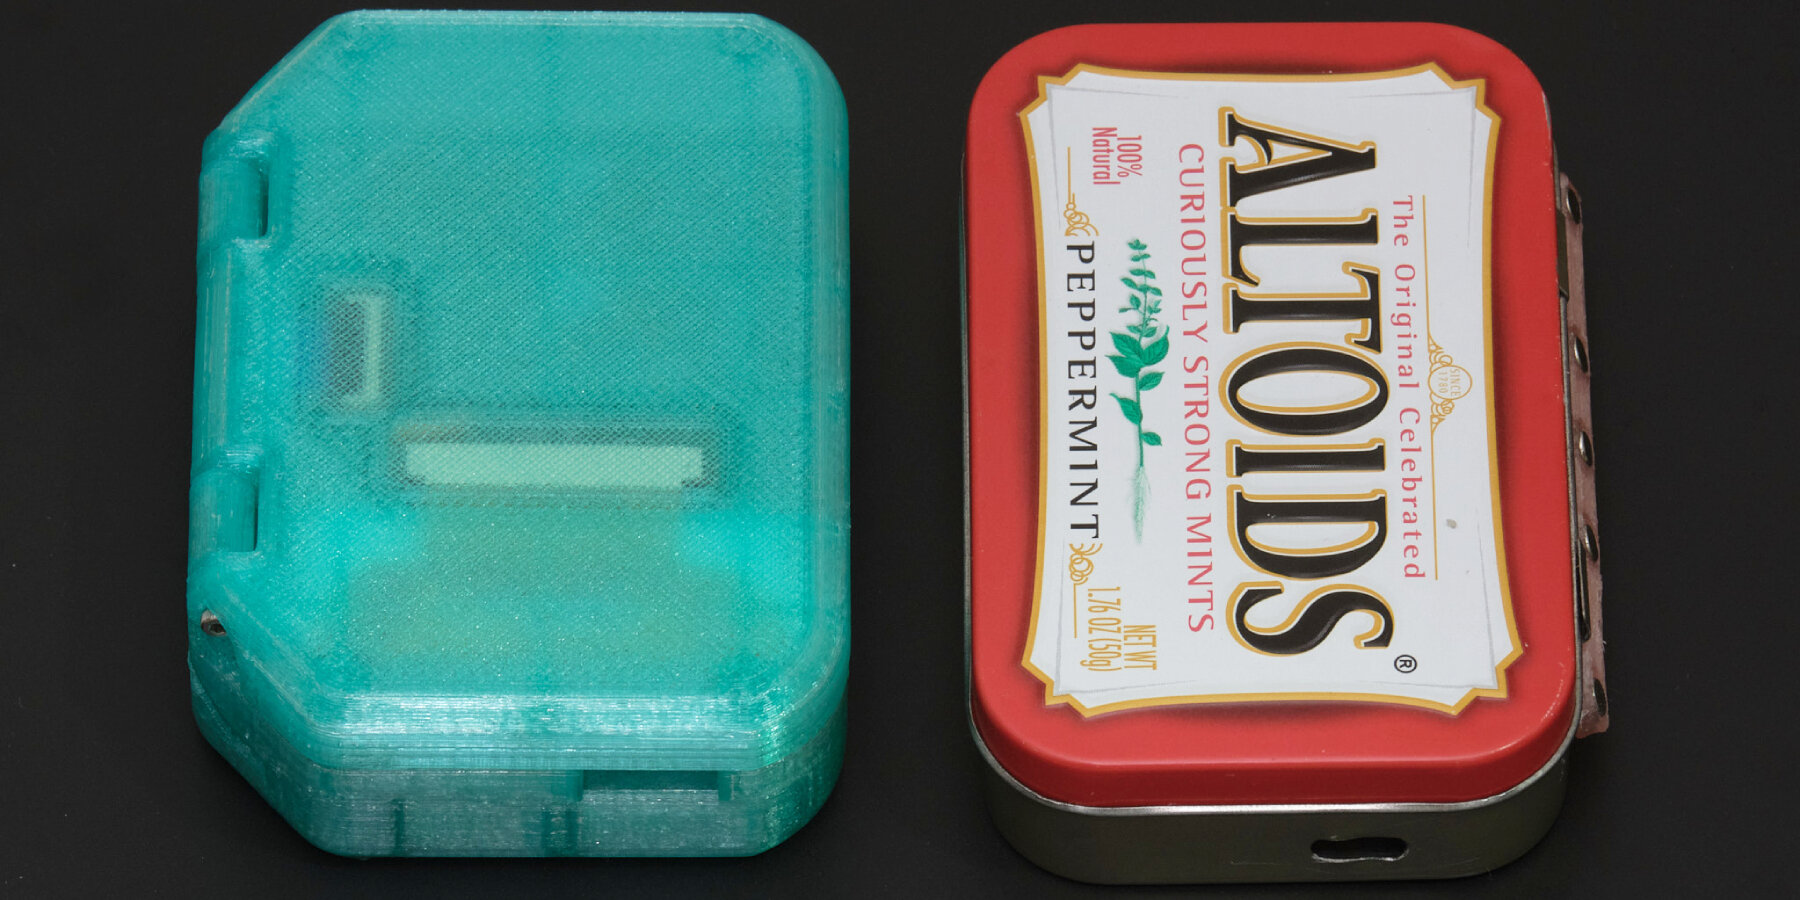
Raspberry Pi gaming console inside recycled altoids tin
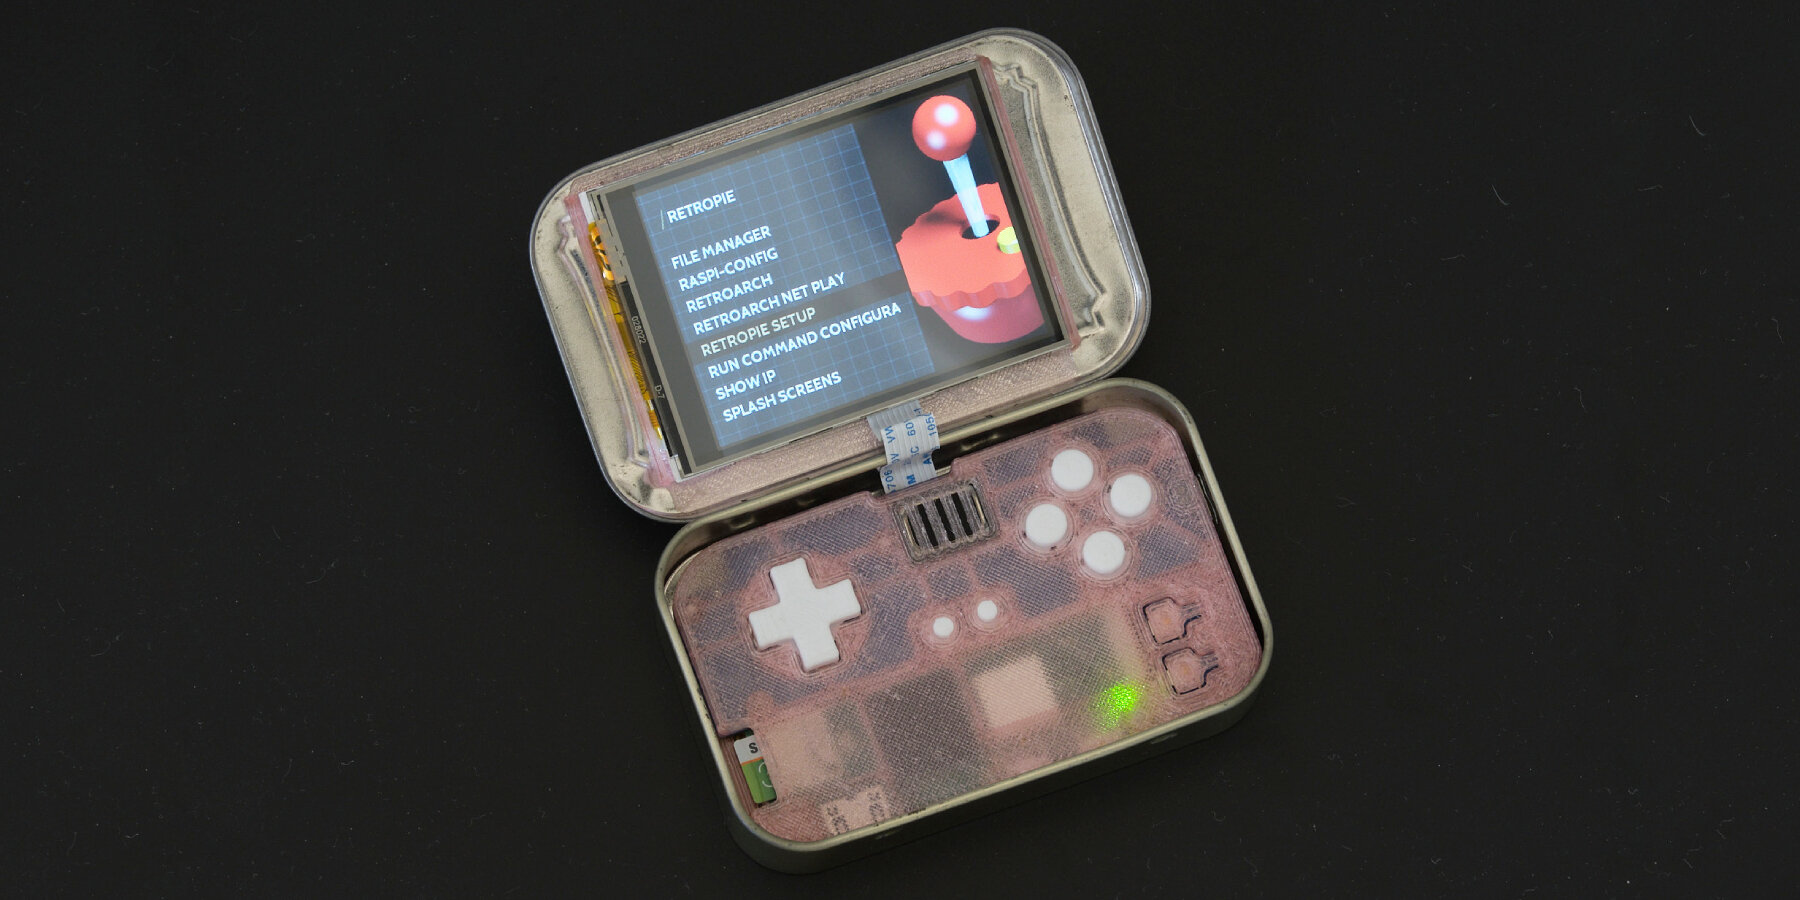
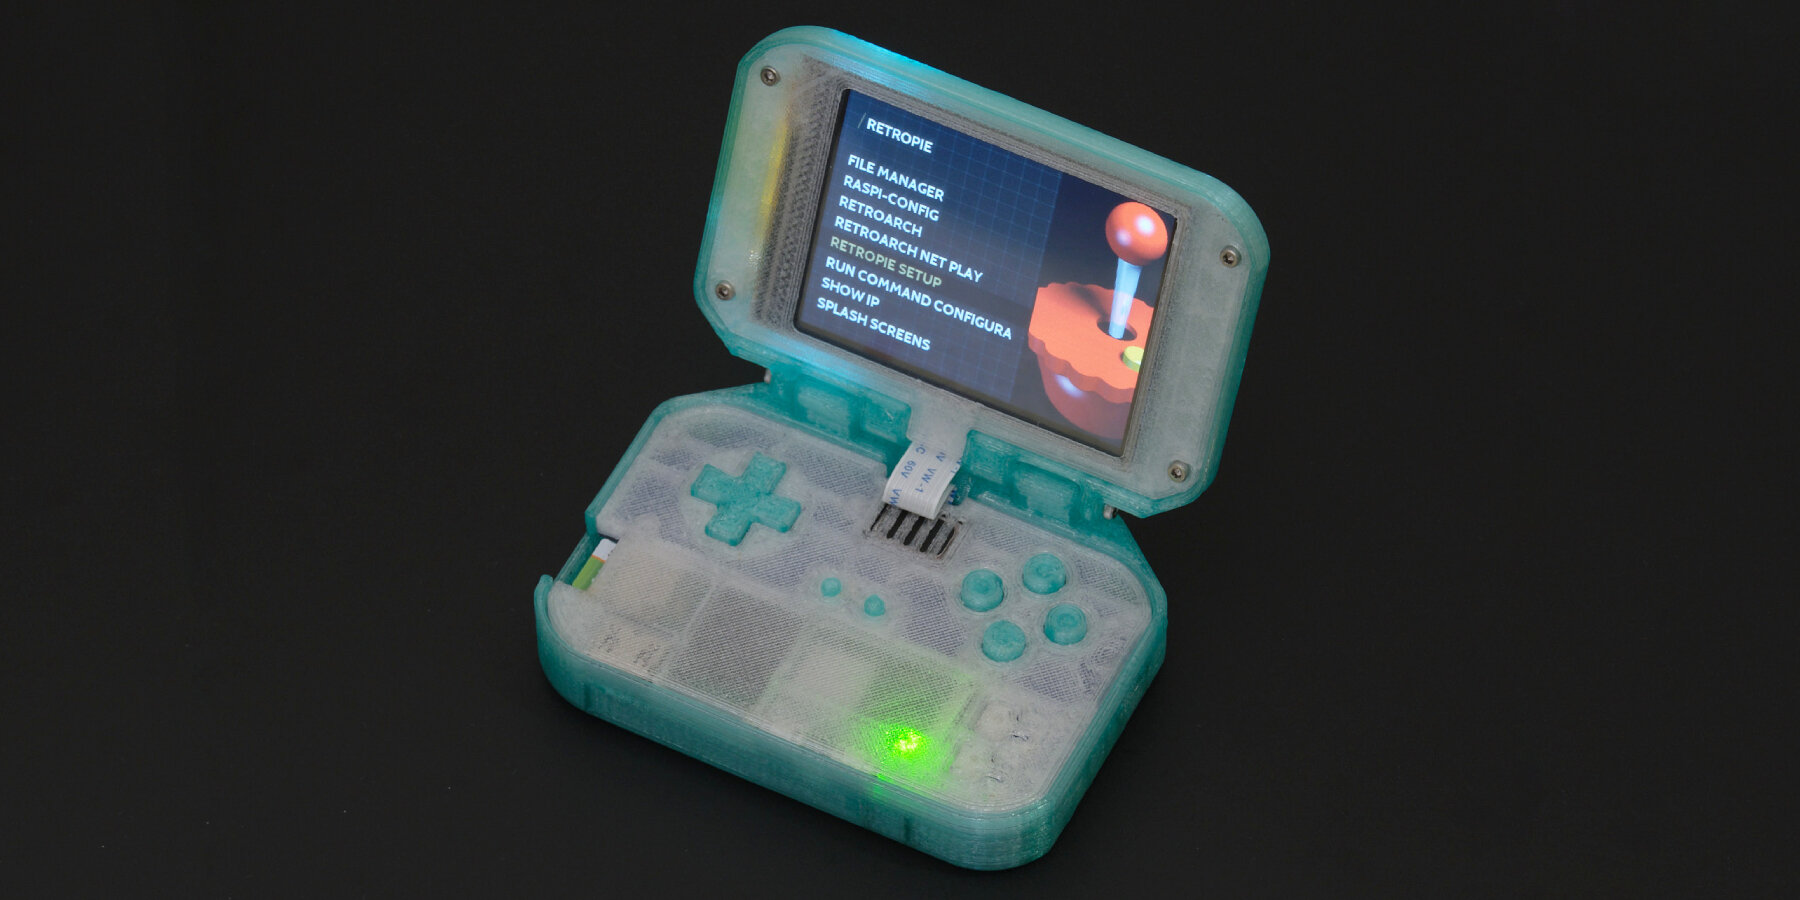
Alley Cat Engineering creates a custom Raspberry Pi handheld retro gaming console that fits inside a recycled Altoids mint tin. Made by jackw01 and soaporsalad, the device named Pi Tin is open-source, built around the Raspberry Pi Zero 2 W and with a 2.8-inch TFT display so it can fit inside an Altoids tin. The device supports emulation for SNES, GBA, PS1, Genesis/Megadrive, and some N64 games. The gamepad uses Alps tactile switches and an elastomer membrane, the same components found in the Game Boy Advance SP and DSi.
It includes a soft power button for turning the system on or shutting it down with a single press. The Raspberry Pi gaming console can be used while charging and is compatible with all USB-C cables and chargers. The battery provides up to five hours of gameplay using a 2000mAh battery. Handy users can build their own Pi Tin with either a 3D printed clamshell case or inside an Altoids tin. Both require a Raspberry Pi Zero 2 W, two custom PCBs, 3D printed parts, and additional components. The PCBs can be low-cost but require advanced soldering techniques.
all images courtesy of jackw01 and soaporsalad of Alley Cat Engineering
Building the retro gaming device
The Alley Cat Engineering team says that the Altoids tin option is more complex, requires additional tools, has reduced battery capacity, and has limited ergonomics. On the other hand, the Raspberry Pi gaming console in 3D printed case is easier to assemble. For the users who want to try and build the Altoids tin option, they insert three neodymium magnets into the tin’s rear and secure them with glue. Then, they place the Main PCB onto the front panel and connect the battery, keeping a wire loop.
They install four rear buttons in the housing, align components, and secure them with six screws. After that, they use tape to fix the battery and foam tape to center the PCB. Next is to drill holes in the tin for ports and buttons, then attach the lid stop and a magnet to the lid clip. Securing the display PCB and mounting it inside the tin lid comes next. For the last part, they connect the display, insert the PCB assembly, and attach the lid clip. Again, these instructions are open-source, which includes an electronics build guide as well as software setup and testing. The team has also uploaded the instructions for building the Raspberry Pi gaming console in 3D printed clamshell case.
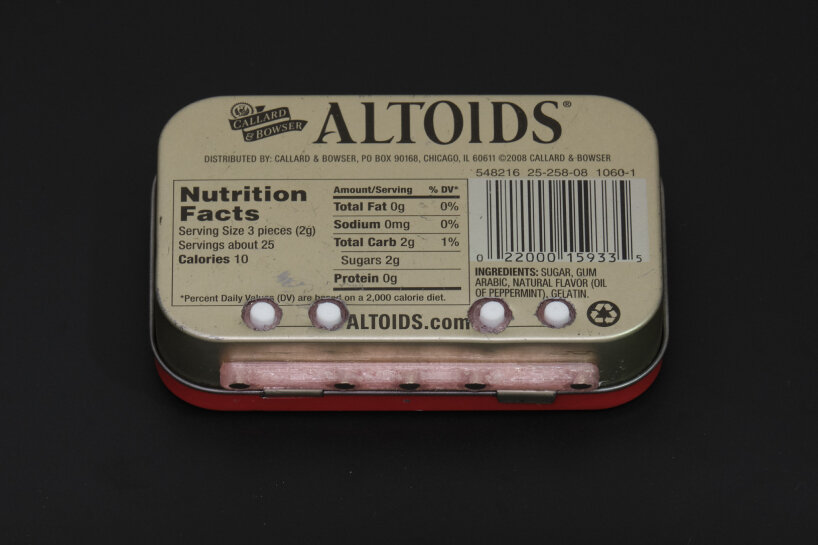
four rear buttons in the housing
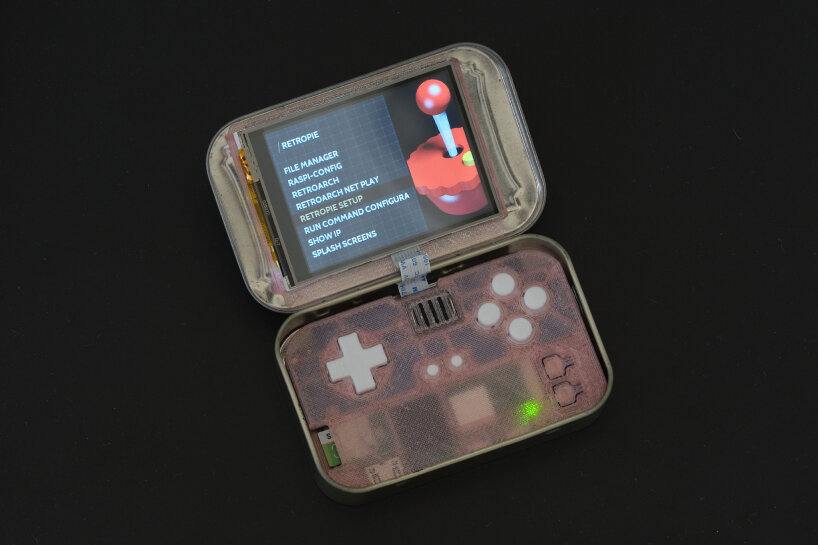
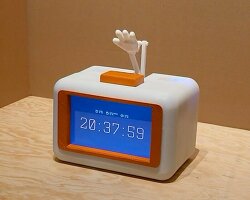
the device comes with a 2.8-inch TFT display
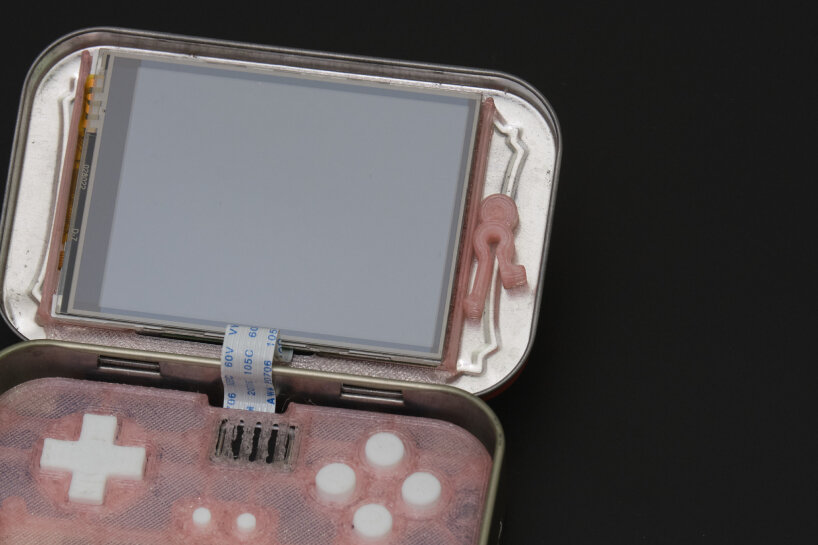
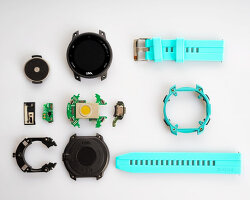
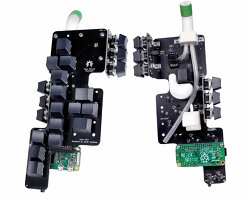
the gamepad uses Alps tactile switches and an elastomer membrane
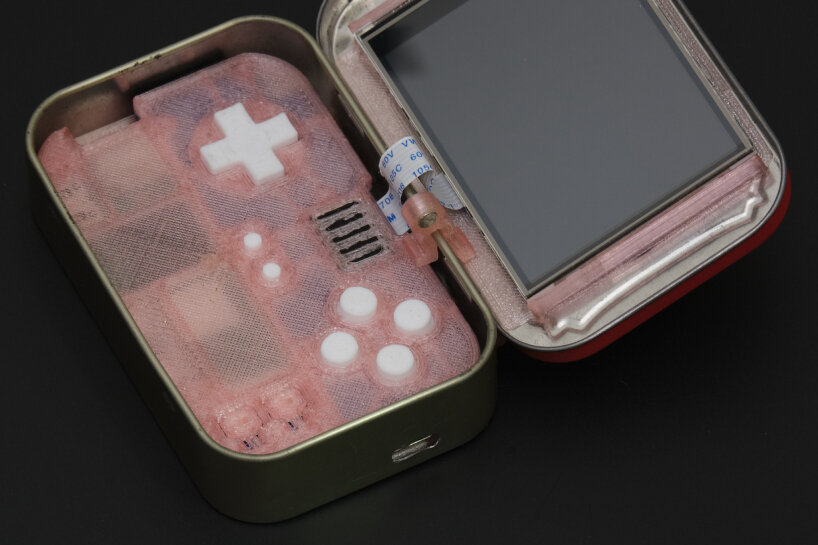
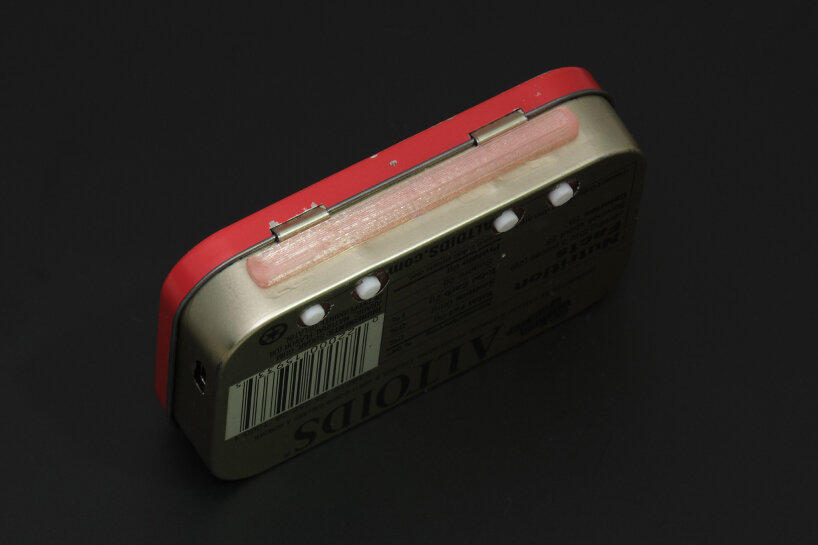
users can play the device while charging, and it is compatible with all USB-C cables
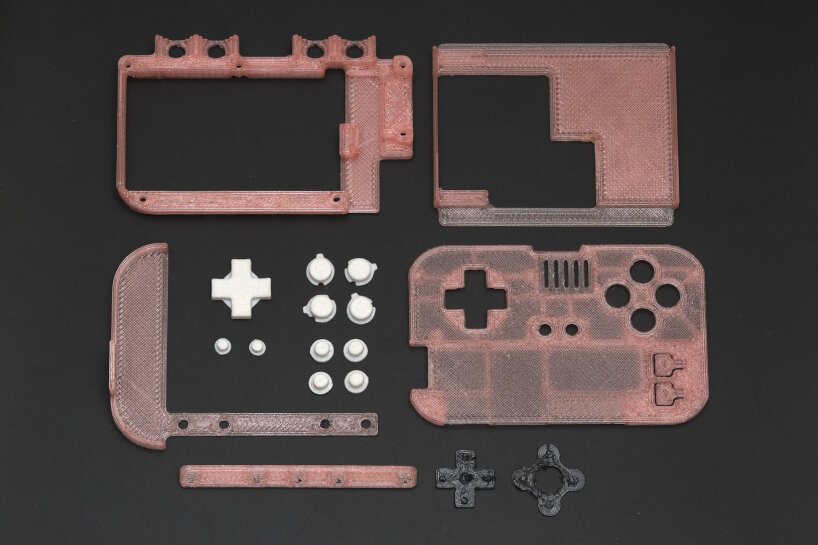
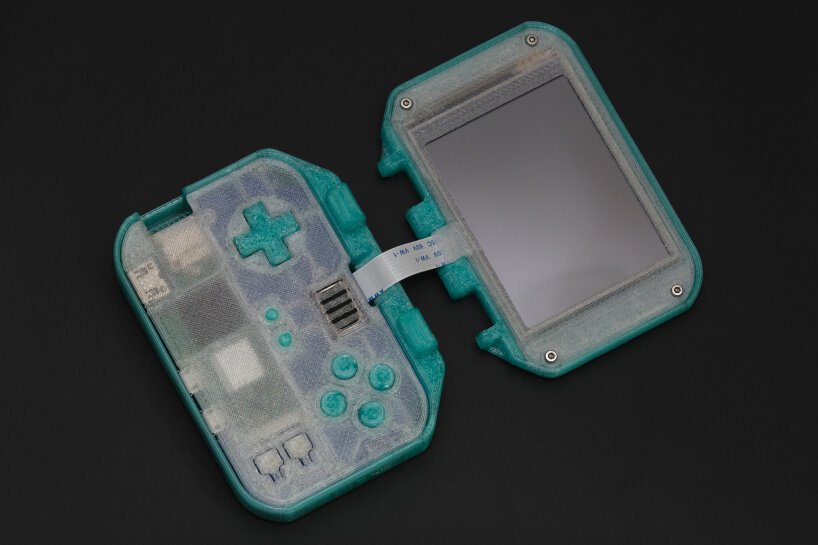
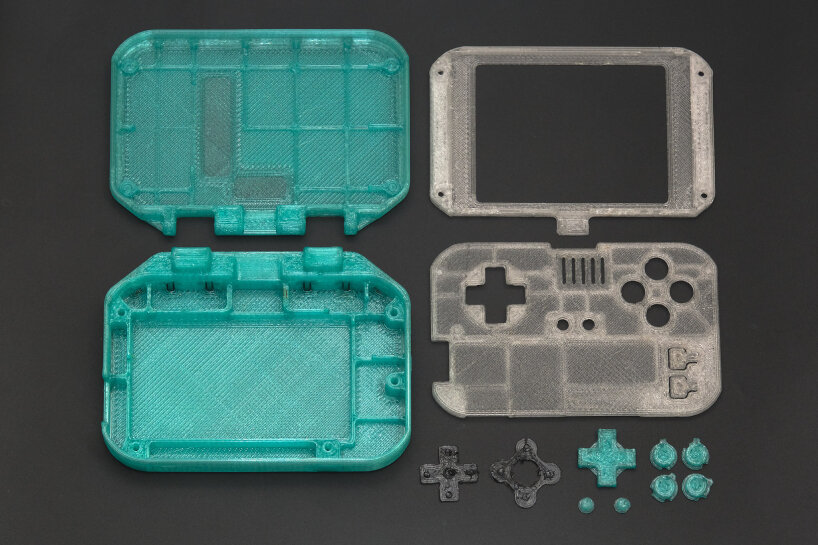
parts of the custom device
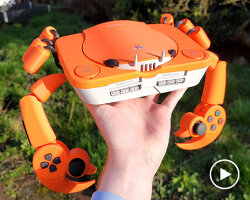
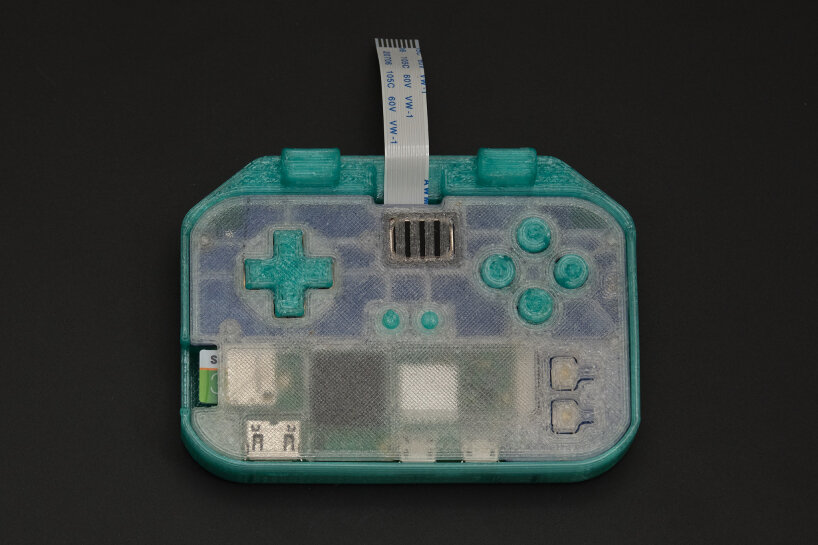
users can also build the console with a 3D printed clamshell case
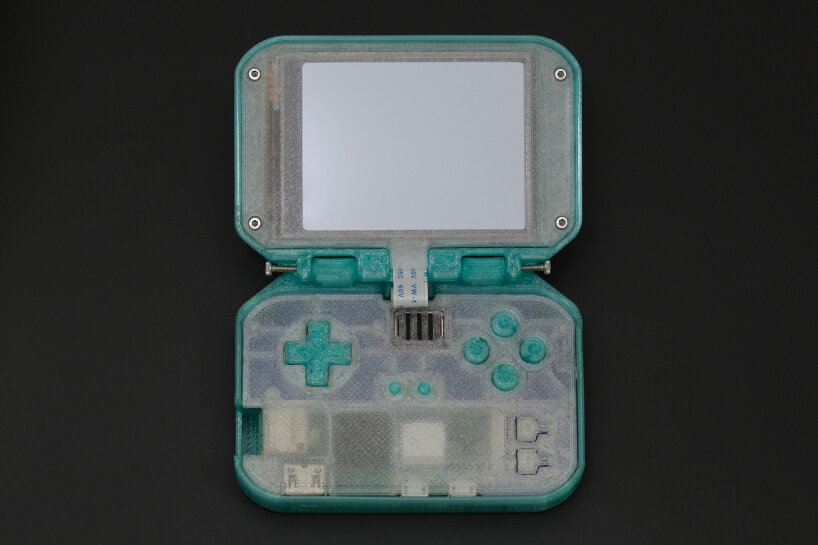
the team says that the one with 3D printed case is easier to assemble
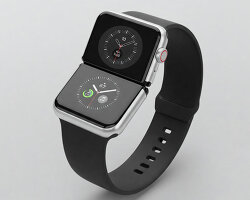
the model with 3D printed clamshell case also comes with 2.8-inch TFT display
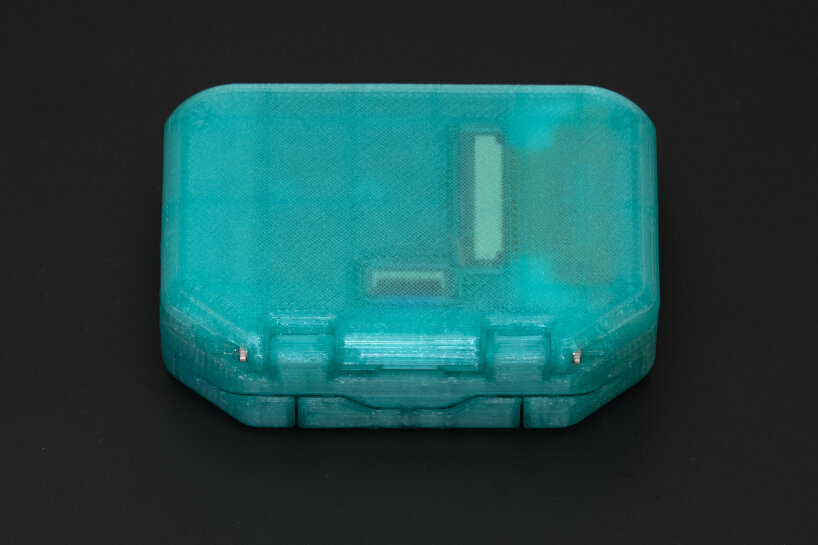
rear view of the 3D printed clamshell case
the files are open-source, so users can build the device on their own
project info:
name: Pi Tin
design: jackw01 and soaporsalad of Alley Cat Engineering | @soaporsalad
files: here